2 D Ganesha lamp
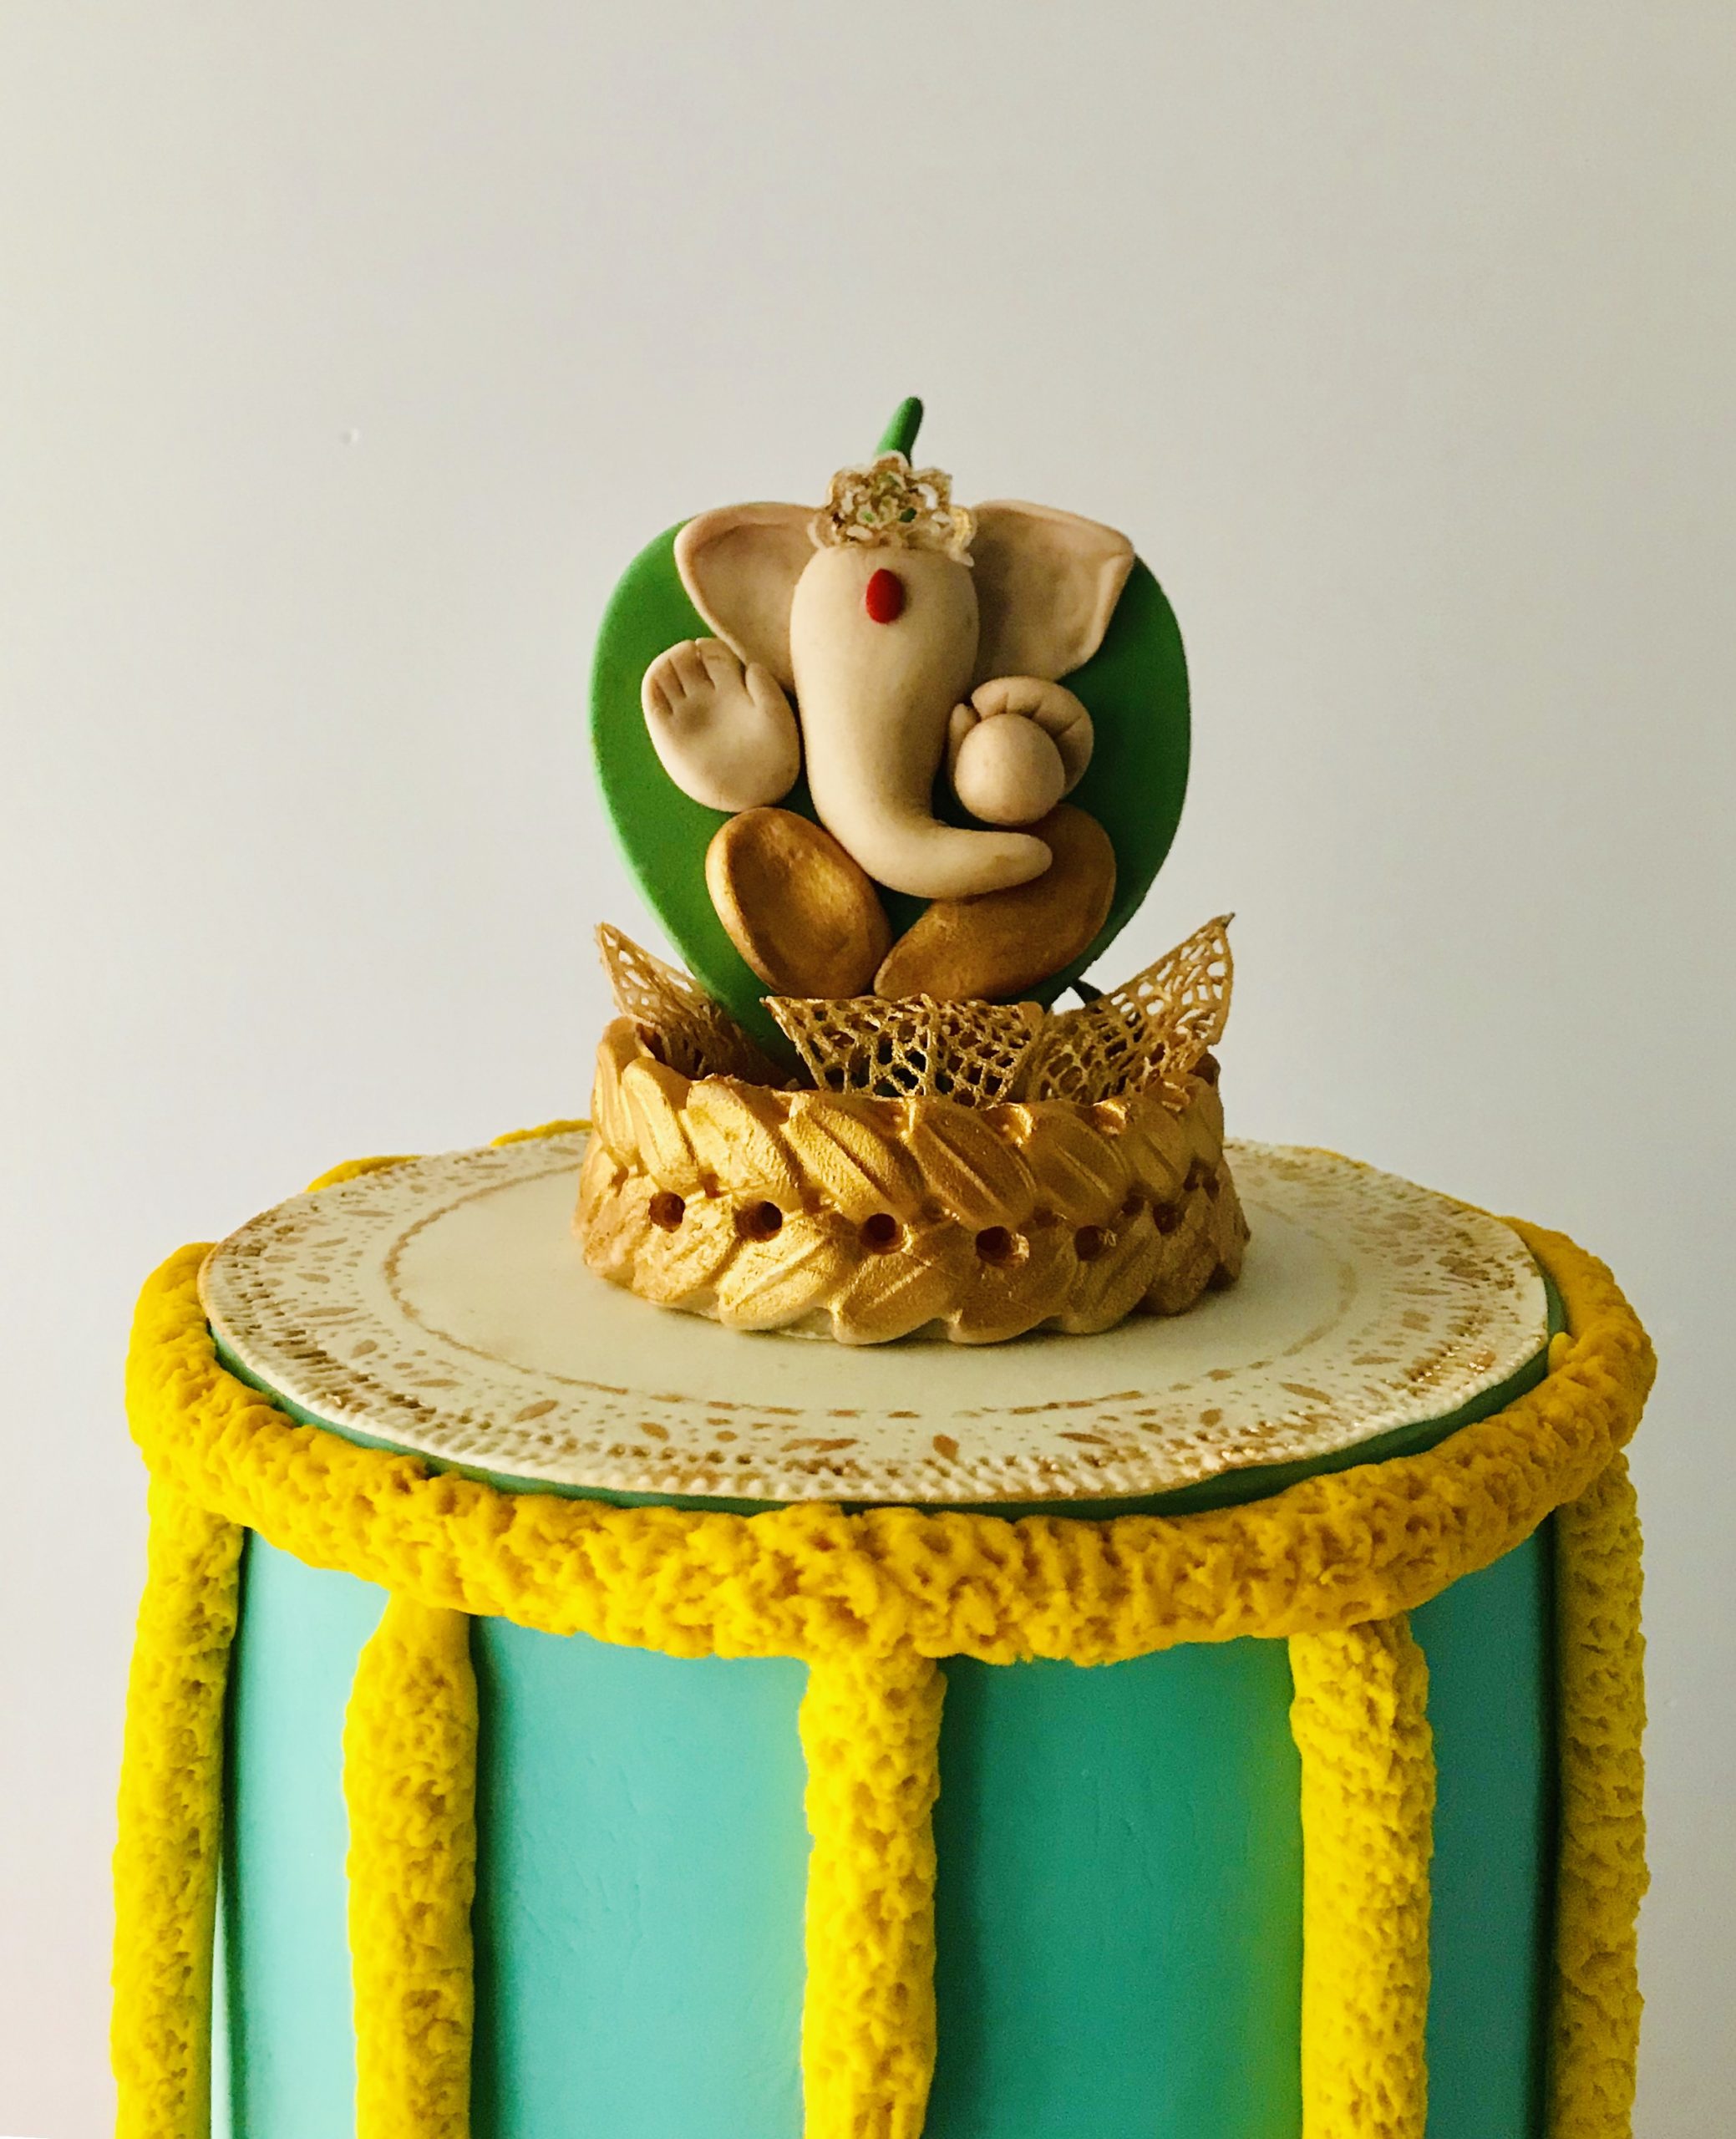
Using a combination of bright and exciting colours, Seetha has created ‘Utsav’ whichn means celebration. Built on an emotionally intense base of deep maroon, the geometric pattern of ornamental gold lace invokes joy and prosperity. Traditional yellow garlands that signify festivity on the occasion of Diwali are brilliantly recreated in ‘Utsav’. A figurative depiction of Ganesha, exalted on a decorative golden diya with a leaf backdrop sits on the top.
Meet the Artist
Brand Name: The Cake Houze
Seetha is a passionate home baker who believes in quality and finesse while doing the best in every cake she creates. She is based out of Coimbatore.

Tools Required
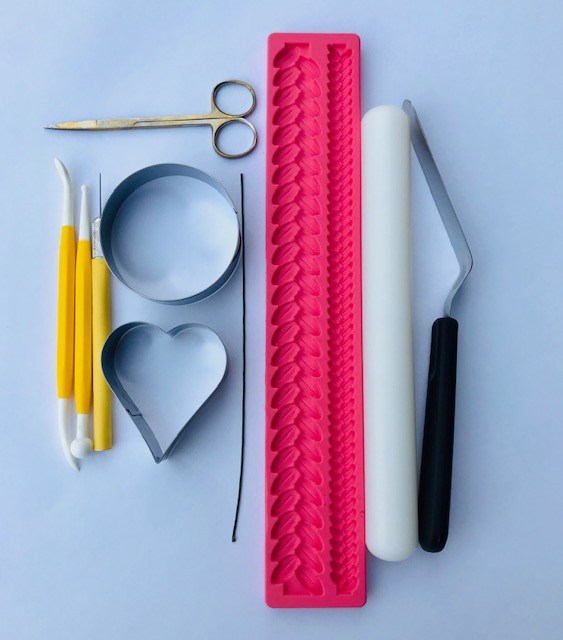
- Angled Spatula
- Fondant rolling pin
- Silicone mould
- 18 gauge green floral wire
- Circle shaped and heart shaped cookie cutter
- Small fine scissors
- Exacto Knife and modelling tools
Tutorial
Step 1
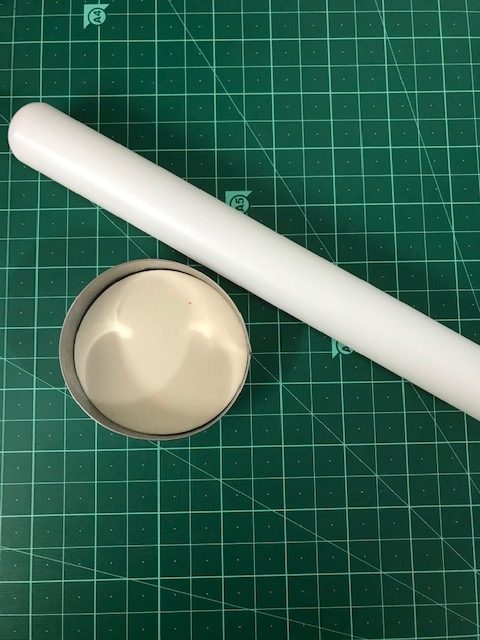
For the base of the diya, roll out some white gumpaste to about 2 centimetres thickness. Cut out a 3” inch circle using a cookie cutter.
Step 2
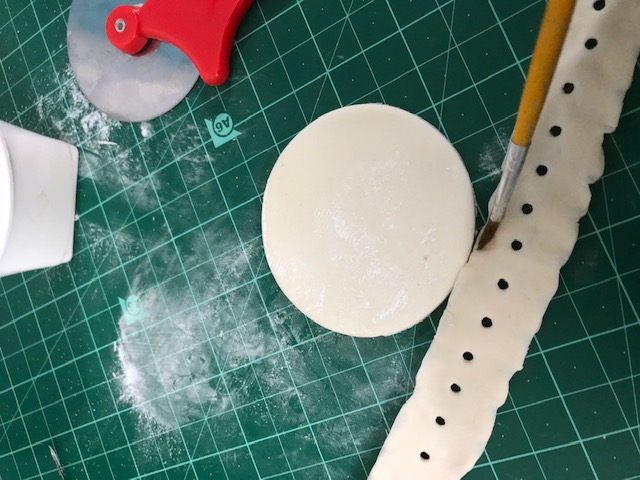
Make a border for the diya using gumpaste with an appropriate silicone mould. Cut the length of the border to the size of the circumference of the base circle.
Step 3
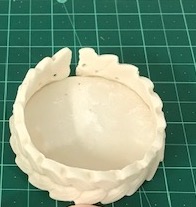
Using the edible glue and stick the border around the circle base to form a wall around the edge of the base. Hold it until it stays intact. Set aside to dry.
Step 4
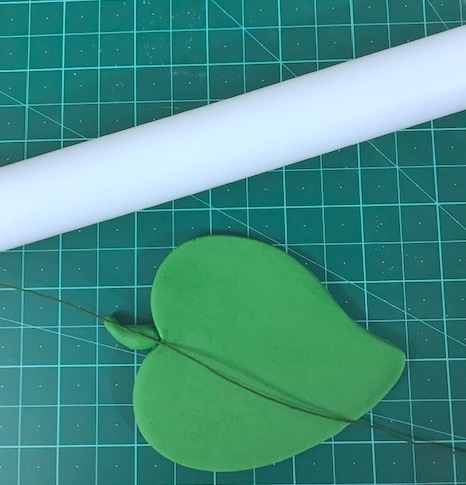
Roll out green colored gumpaste to ¼” thickness. Cut out a leaf shape using a 3” heart shaped cookie cutter. Dip a 18 gauge floral wire in edible glue and insert it through the narrow end of the leaf and gently push it through, so the wire passes through the broader end of the leaf. Leave about 1 cm of wire protruding out of the broader end and 2 cm of wire protruding out of the narrower end of the leaf.
Step 5
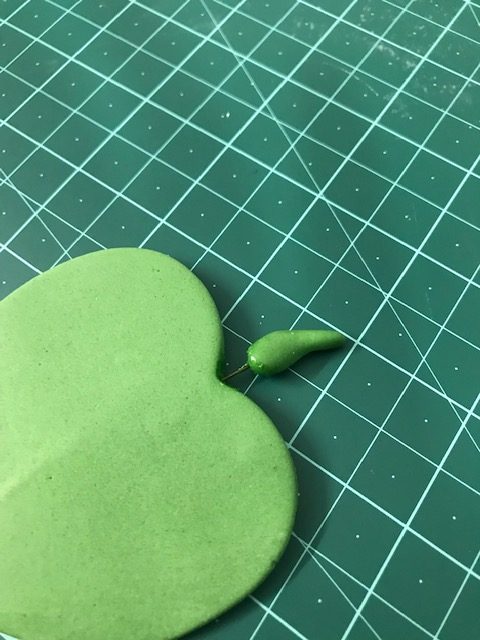
To make the stem end of the leaf, make a teardrop around the 1 cm wire protruding out of the broader end of the leaf. Set aside to dry.
Step 6
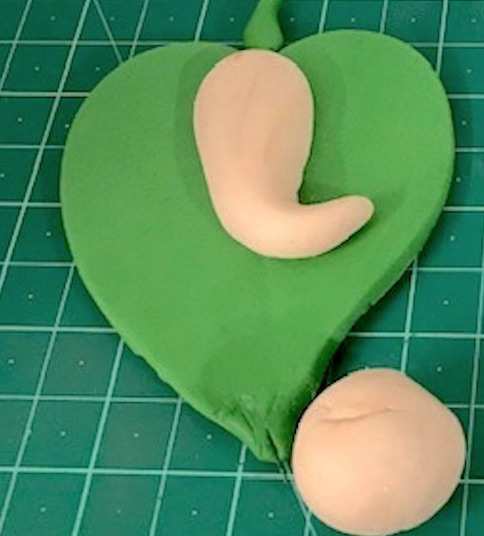
For the face and trunk of the Ganesha, make a 2” long teardrop shape out of skin tone gumpaste. Bend the narrow end of the teardrop to shape like an elephant’s trunk. Gently flatten the back of the trunk and stick it on the leaf using edible glue.
Step 7
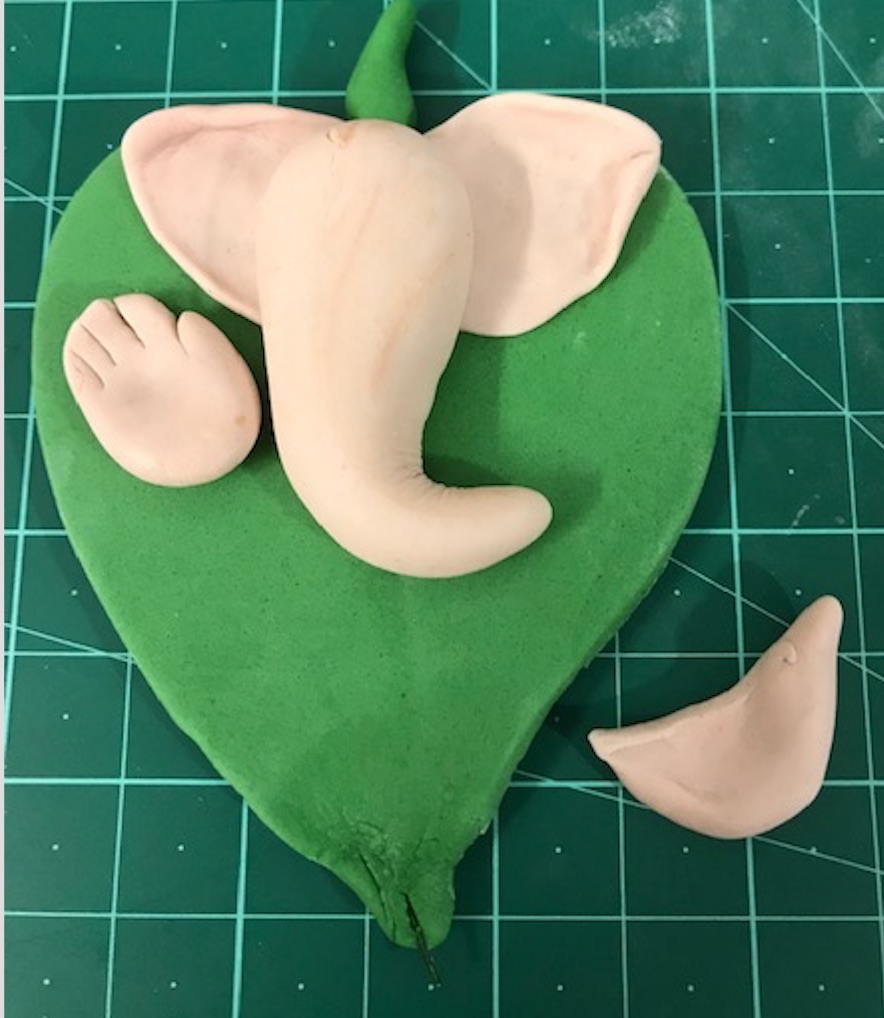
For the ears, cut out a pair of flat teardrop shapes from a thinly rolled gumpaste. Place the cutouts on a foam pad and soften the edges using a ball tool. Bend the edge of the broad side of the ears inward to resemble elephant ears. For the palm of Ganesha, take an appropriate size of flesh tone gumpaste. Shape it to an oval and flatten it. Using a craft knife, mark the fingers on the palm. Make another palm in the same fashion.
Step 8
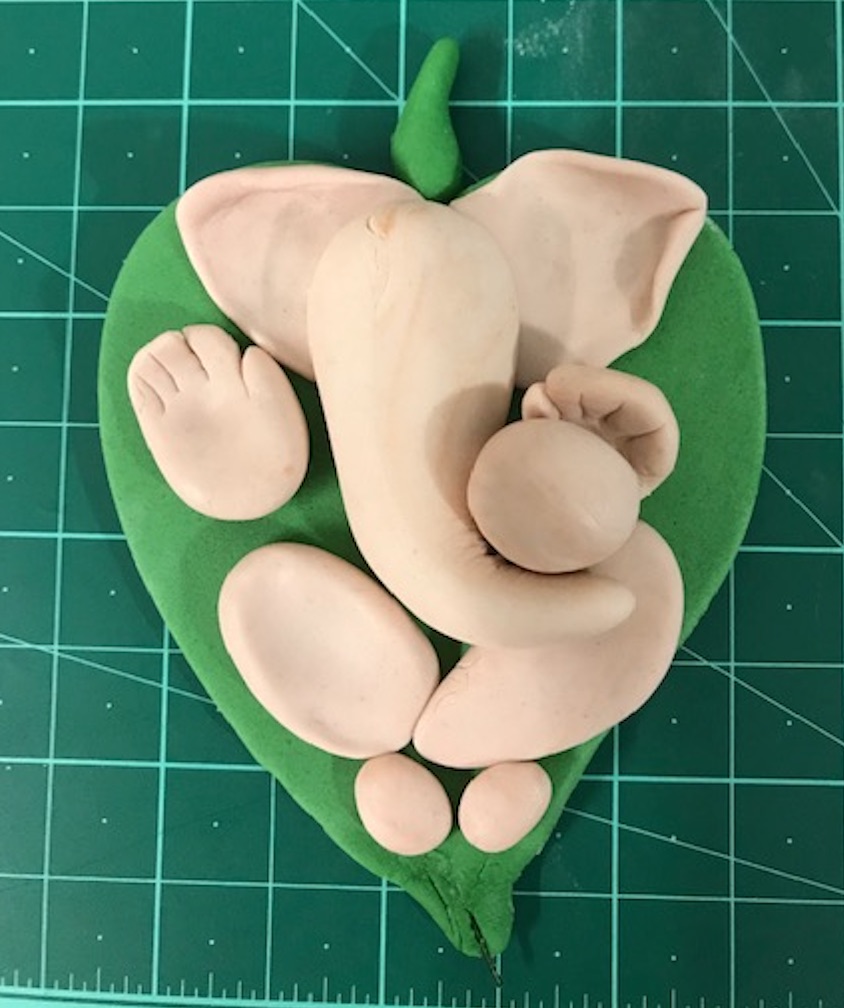
For the legs, make two oval shapes in the desired size using flesh tone gumpaste. Also make smaller oval shapes for the feet. Flatten the back of the leg and feet gently and stick them on the leaf using edible glue to complete the Ganesha’s body. Add modak on Ganesha’s left palm by sticking a small ball of gumpaste. Let it dry.
Step 9
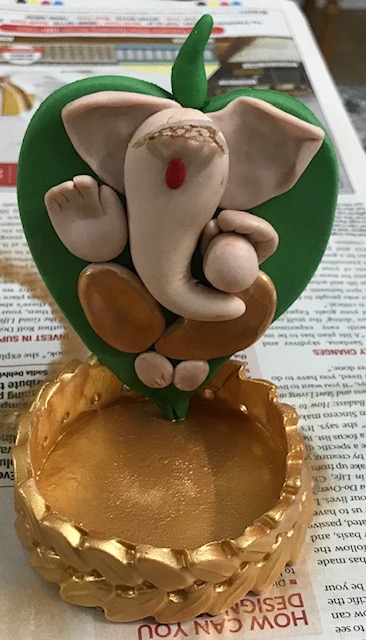
Paint the legs and the base of the lamp using golden lustre and vodka. Make a tilak using red gumpaste and stick on the forehead of Ganesha. Assemble the Ganesha leaf on the base of the diya by inserting the 2 cm wire that extends from the narrow end of the leaf. Use edible glue to stick and to add more stability.
Step 10
Cover one LED bulb using a golden edible lace and place it inside the base of the diya
Learn how to make marigold garland in part 2 of this tutorial.
Magazine Link
Many more interesting tutorials are there in March 2019 Volume 1 Issue 1.
Recent Comments