WAFER PAPER XMAS TREE

An aspiring home baker, Neetha Venkatesh is a banker by profession but a cook and a baker by passion. Her passion has also fueled her interest in another hobby of photography, taking photos of her lovely baked goodies and mouth-watering cooking.
Meet the Artist
Business name: Sweet Little Slice

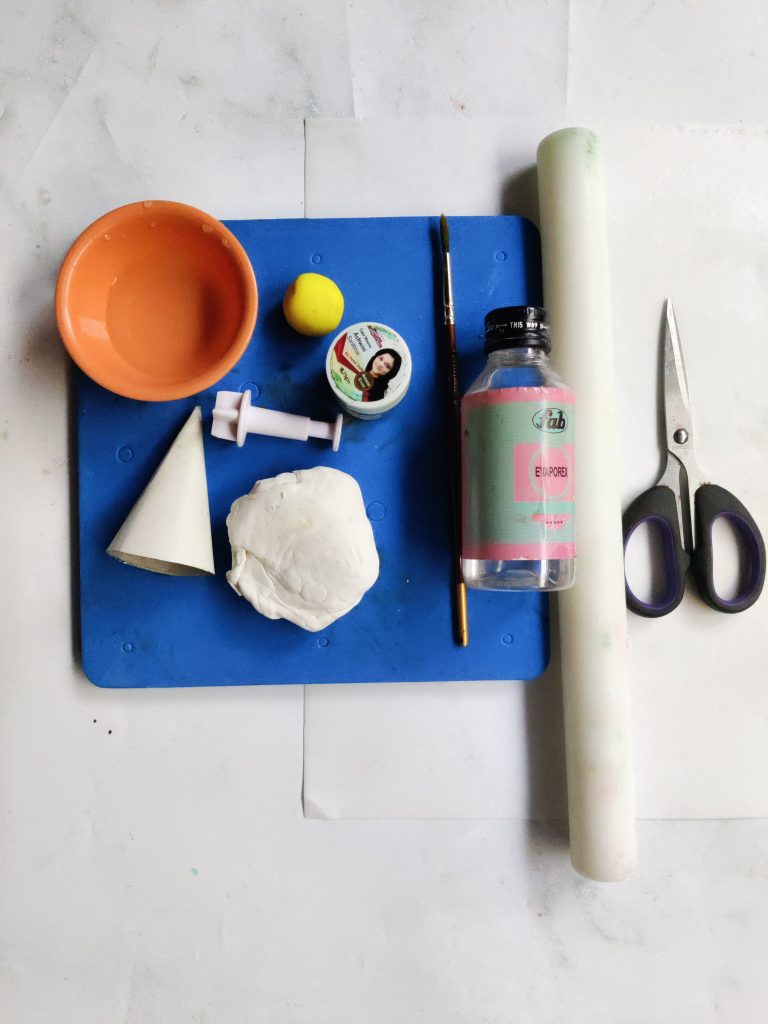
Materials Required:
- Wafer paper
- Pastillage
- Cardboard stock cone template
- Scissors
- Brush
- Green petal dust
- Rolling pin
- Yellow fondant ball
- Star cutter
- Evoprex\vodka
- Edible glue
- Exacto knife
- Foam board
Instructions
Step 1
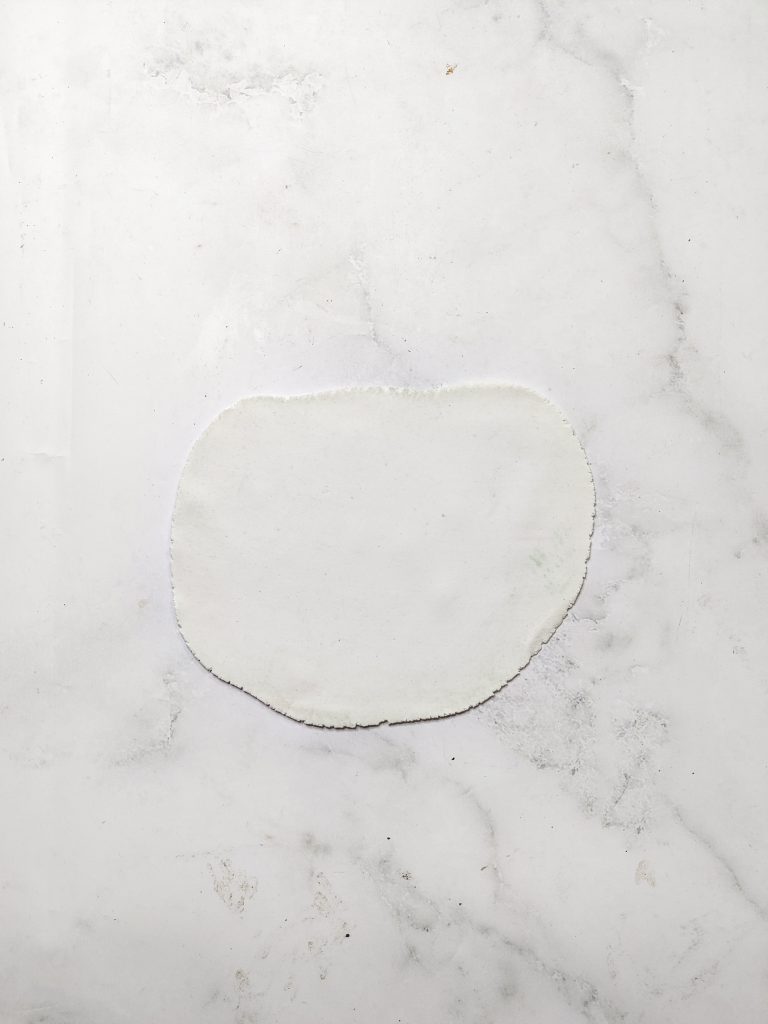
Roll the pastillage to 2mm thickness
Step 2
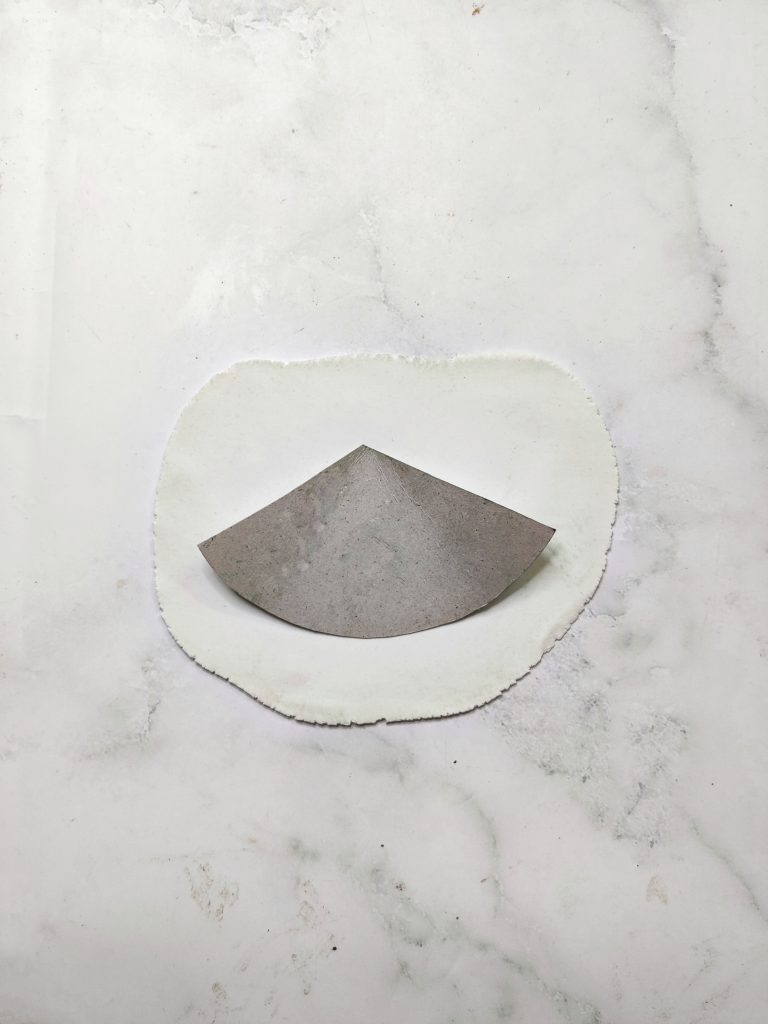
Place the cone template on the rolled pastillage.
Step 3
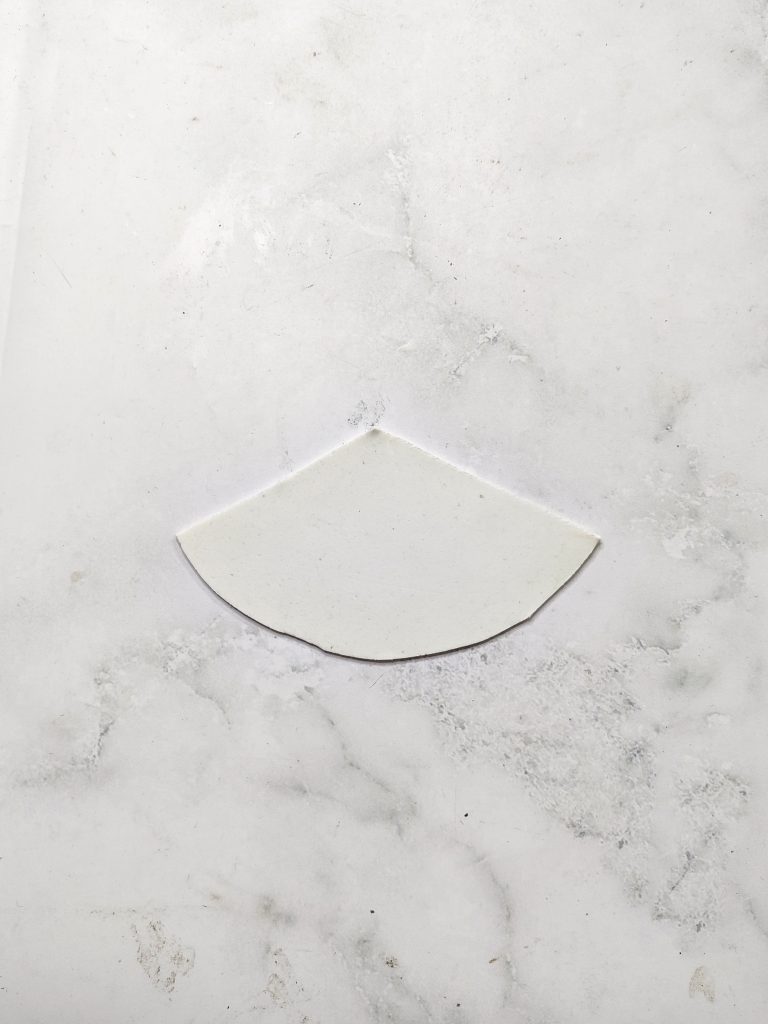
Cut in shape of the template.
Step 4
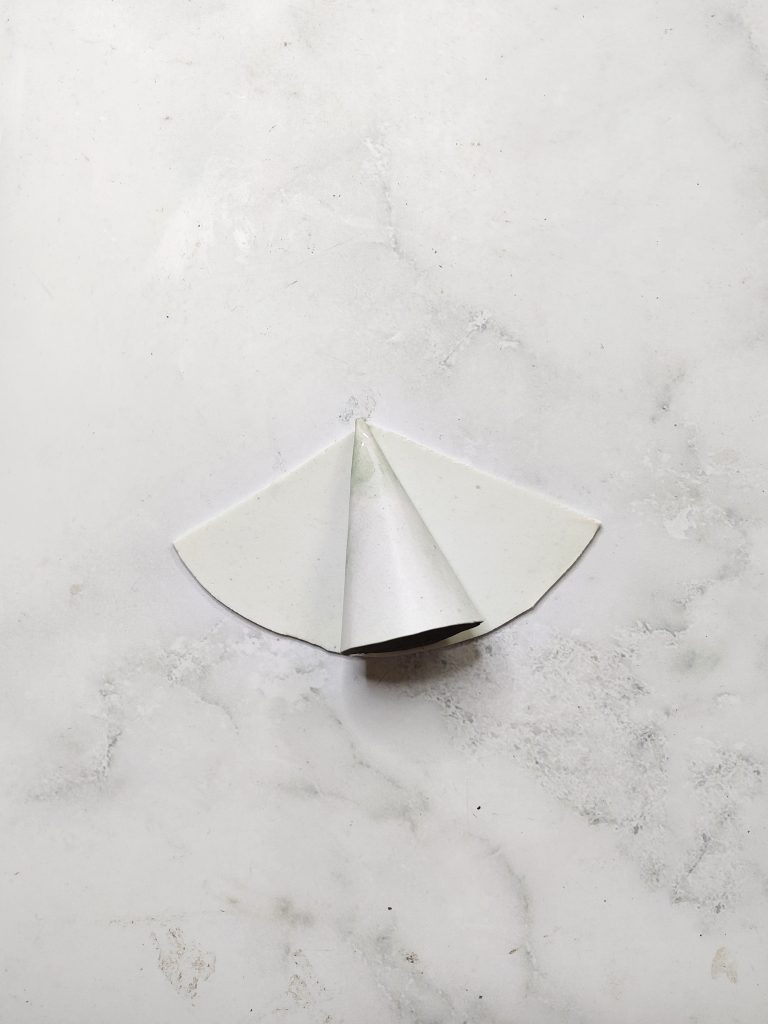
Now assemble the cone temple ,glue it into a cone shape.
Step 5
Wrap the rolled pastillage around the paper cone,Cut out the excess and bind them together . let the cone sit on the cardstock until the pastillage dries, then gently remove the cardstock and let the pastillage to dry for some more time.
Step 6
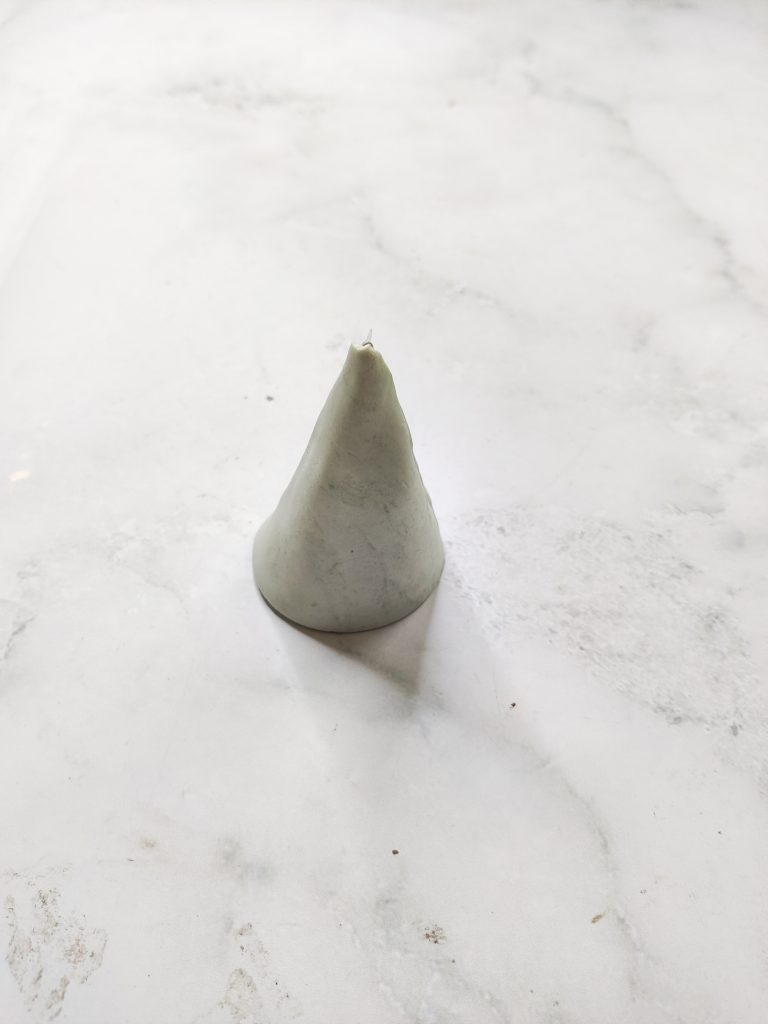
Colour the pastillage cone using green colour petal du
Step 7
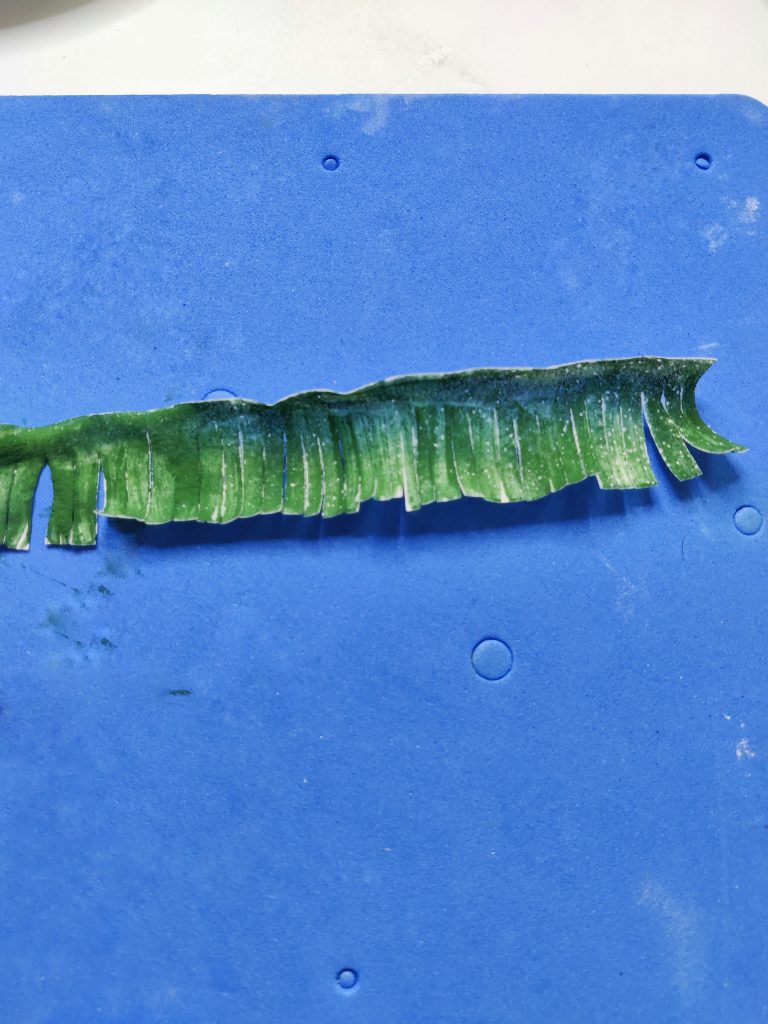
Cut the wafer paper to 1 inch strips using scissors.
Step 8
Cut the long wafer paper strips into small lines.
Step 9
Colour the wafer paper strips by mixing petal dust and vodka, allow it to dry
Step 10
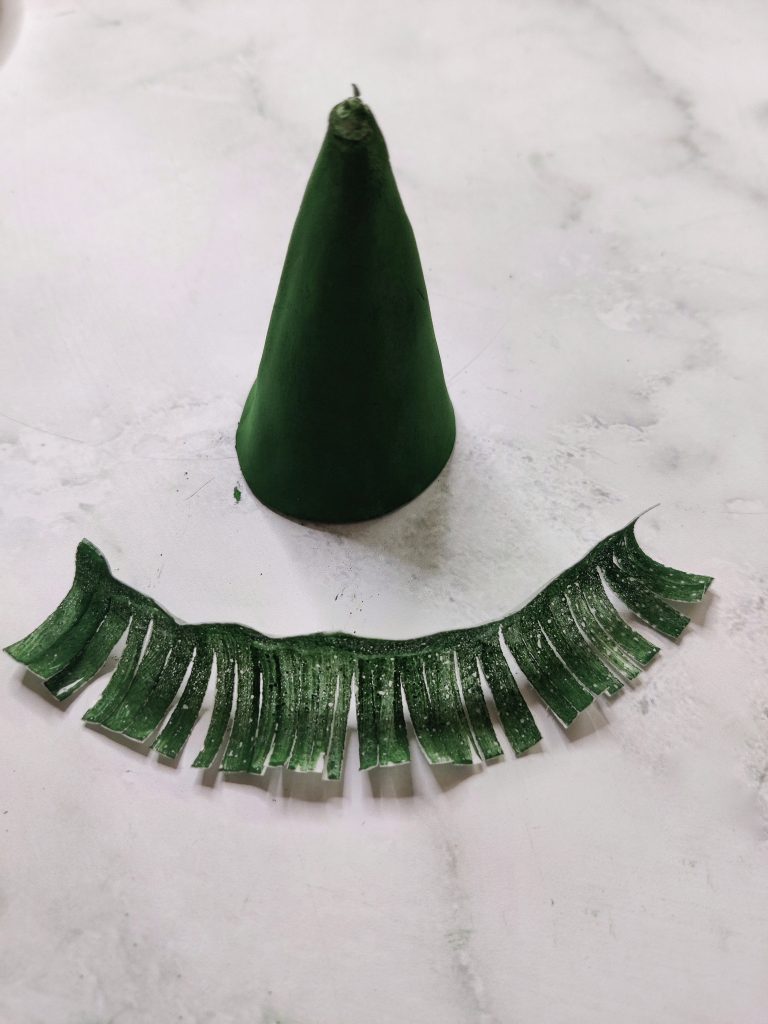
Give a little curl at the edges of the strips using your hand
Step 11 – 14

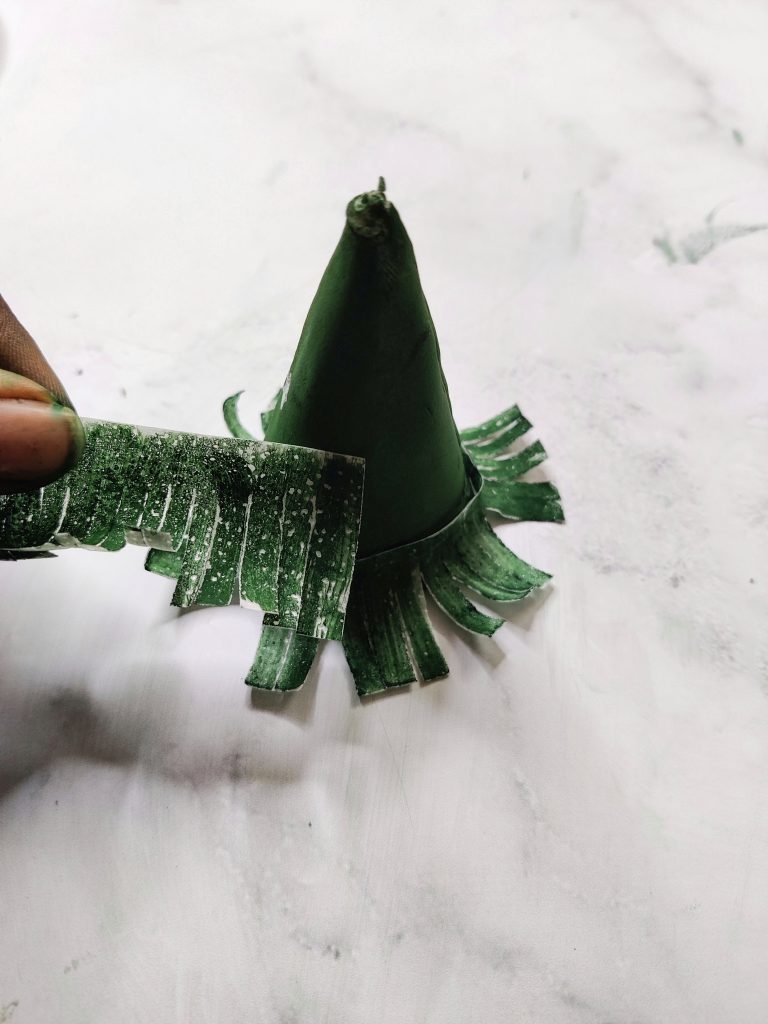

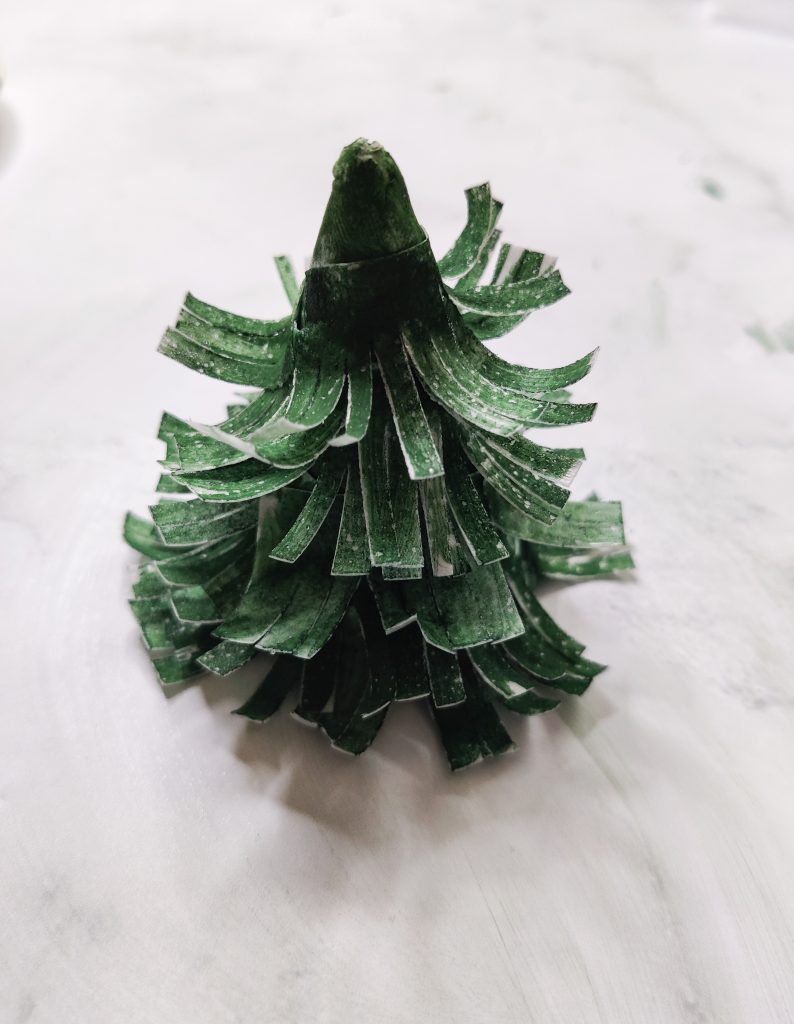
Step 11-14 Begin attaching the colored wafer paper strips to the pastillage cone. Start attaching them at the base of the cone with edible glue and working way up. Repeat the process until you complete attaching the strips to the top of the cone.
Step 15

Roll out the yellow fondant and cut out a star shape.
Step 16
Place the fondant star on top of the tree.
Magazine Link
Buy our Christmas special edition for many more Christmas tutorials from famous artists December 2020 Volume 2 Issue 4.

Recent Comments